Designed & Made in the USA

GageWay QuickStart

Welcome to GageWay, let's get your Gage Interface setup!

Select the device you purchased from the tabs below to view the quickstart guide. 
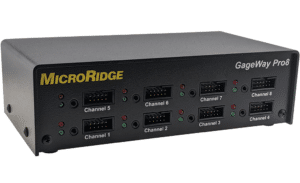
Let's start by communicating with the GageWay Pro

The first question you need to answer is where is your data going?

Keyboard Wedge
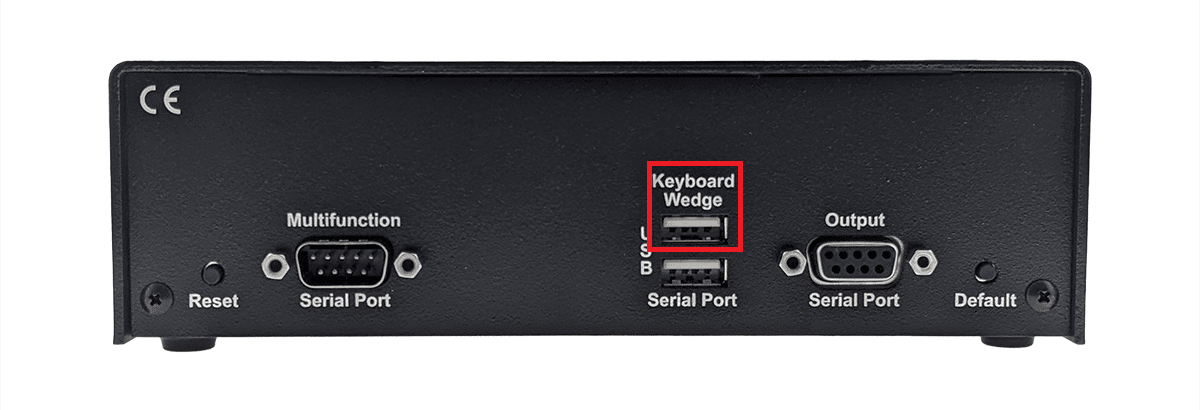
  • Is it going to a program such as Excel, Minitab or another program that requires keyboard entry?
    • Then you need to use the Keyboard Wedge USB Port in the back of the GageWay Pro
GageWay Pro8 Back Keyboard Wedgeb
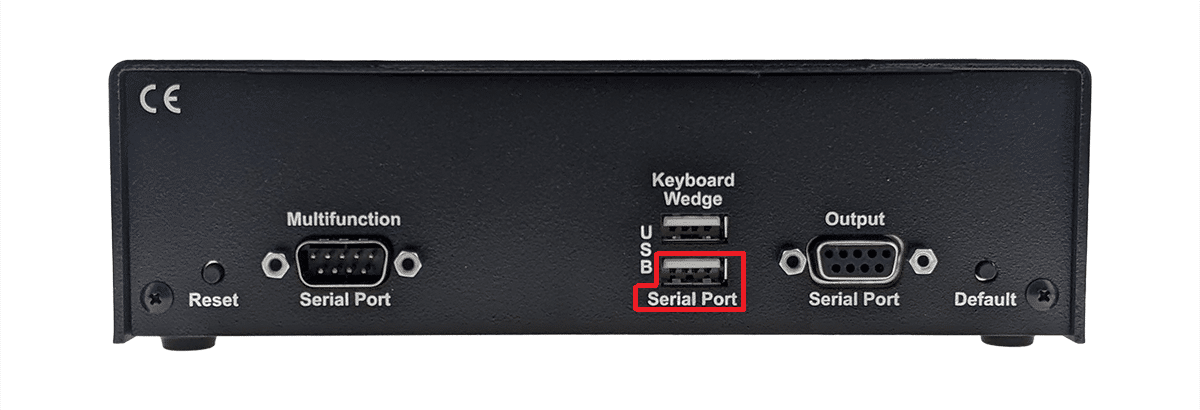
Serial USB Virtual COM Port
  • Is it going into an SPC program or other program that can monitor a Serial COM Port?
    • Then you need to use the Serial USB Port in the back of the GageWay Pro. 

Keyboard Wedge Connection

  1. The GageWay Pro should light up when it’s plugged in via the Keyboard Wedge USB Port. The lights will go out after a few seconds. 
  2. Plug a gage into one of the Channels on the front of the GageWay Pro
  3. Open an application such as Excel or notepad. 
  4. Take a reading to verify you’re getting data. 
  5. If you’re utilizing a hand switch or foot switch, plug that in next to the Channel with the gage and take a reading with the switch. 
  6. If you don’t need advanced setup, your GageWay Pro is ready for years of work!

Serial USB Virtual COM Port

  1. Download the FTDI USB VCP (Virtual COM Port) driver.
  2. Download ComTestSerial our serial communications test program and install it. 
  3. The GageWay Pro should light up when it’s plugged in via the Serial USB Port. The lights will go out after a few seconds. 
  4. Open ComTestSerial and select “Setup”
    • Select “GageWay Pro Interface” radio button and click “OK”
  5. Select “Serial Port”
    • Select the radio button for a COM Port that should have a description similar to \Device\VCP
      • Don’t see any Ports? Install the USB Driver.
      • Your COM Port number will most likely be different from the picture. 
  6. Click “Copyright” in the “GageWay Pro Interface:” menu area at the bottom. 
  7. You should see yellow copyright information populate in the large black area. 
  8. Now you’re connected!
  9. Plug a gage into one of the Channels on the front of the GageWay Pro.
  10. Take a reading to verify you’re getting data. 
  11. If you’re utilizing a hand switch or foot switch, plug that in next to the Channel with the gage and take a reading with the switch. 
  12. Now that you’ve got the GageWay Pro up and running. You need to connect it to a COM Port on your software.
    • Note: The GageWay Pro by defualt communicates at a Baud rate of 9600-N-8-1.
  13. If you don’t need advanced setup, your GageWay Pro is ready for years of work!

Advanced Setup

GageWay Pro Setup Software

The GageWay Pro Setup Software is used to configure the interface options and transfer these options to and from the GageWay Pro.
GageWay Pro User Guide

GageWay Pro User Guide
The GageWay Pro interfaces are the most advanced and feature rich gage interfaces available today.

Contact our Technical Support Team