QuickStart GuideDocumentation – Videos & PDFsFAQSelection Tool – Gage/Cable FinderRM2.4 Wireless Protocol
Setup Programs & UtilitiesFirmware UpdatesUser Guides & Tech NotesMobileCollect Certifications
RM2.4 Gage IntegrationZigbee Compatibility
QuickStart GuideDocumentation – Videos & PDFsFAQ
Setup Programs & UtilitiesFirmware UpdatesUser Guides & Tech NotesUSB DriverGageWay Certifications
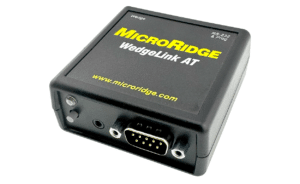
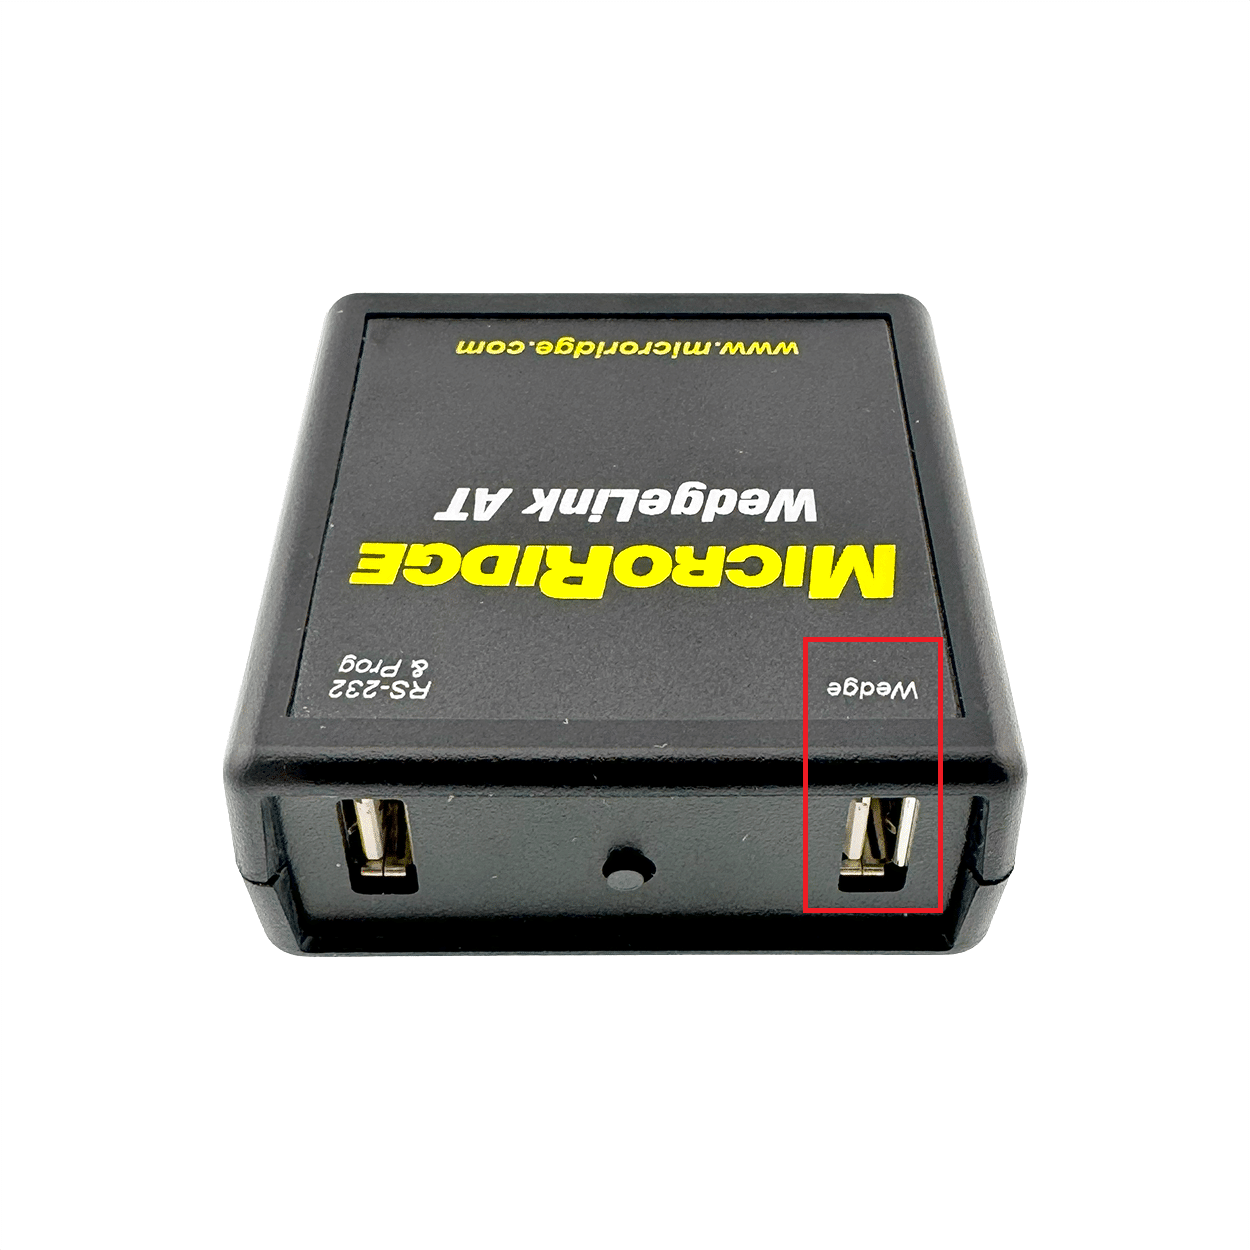
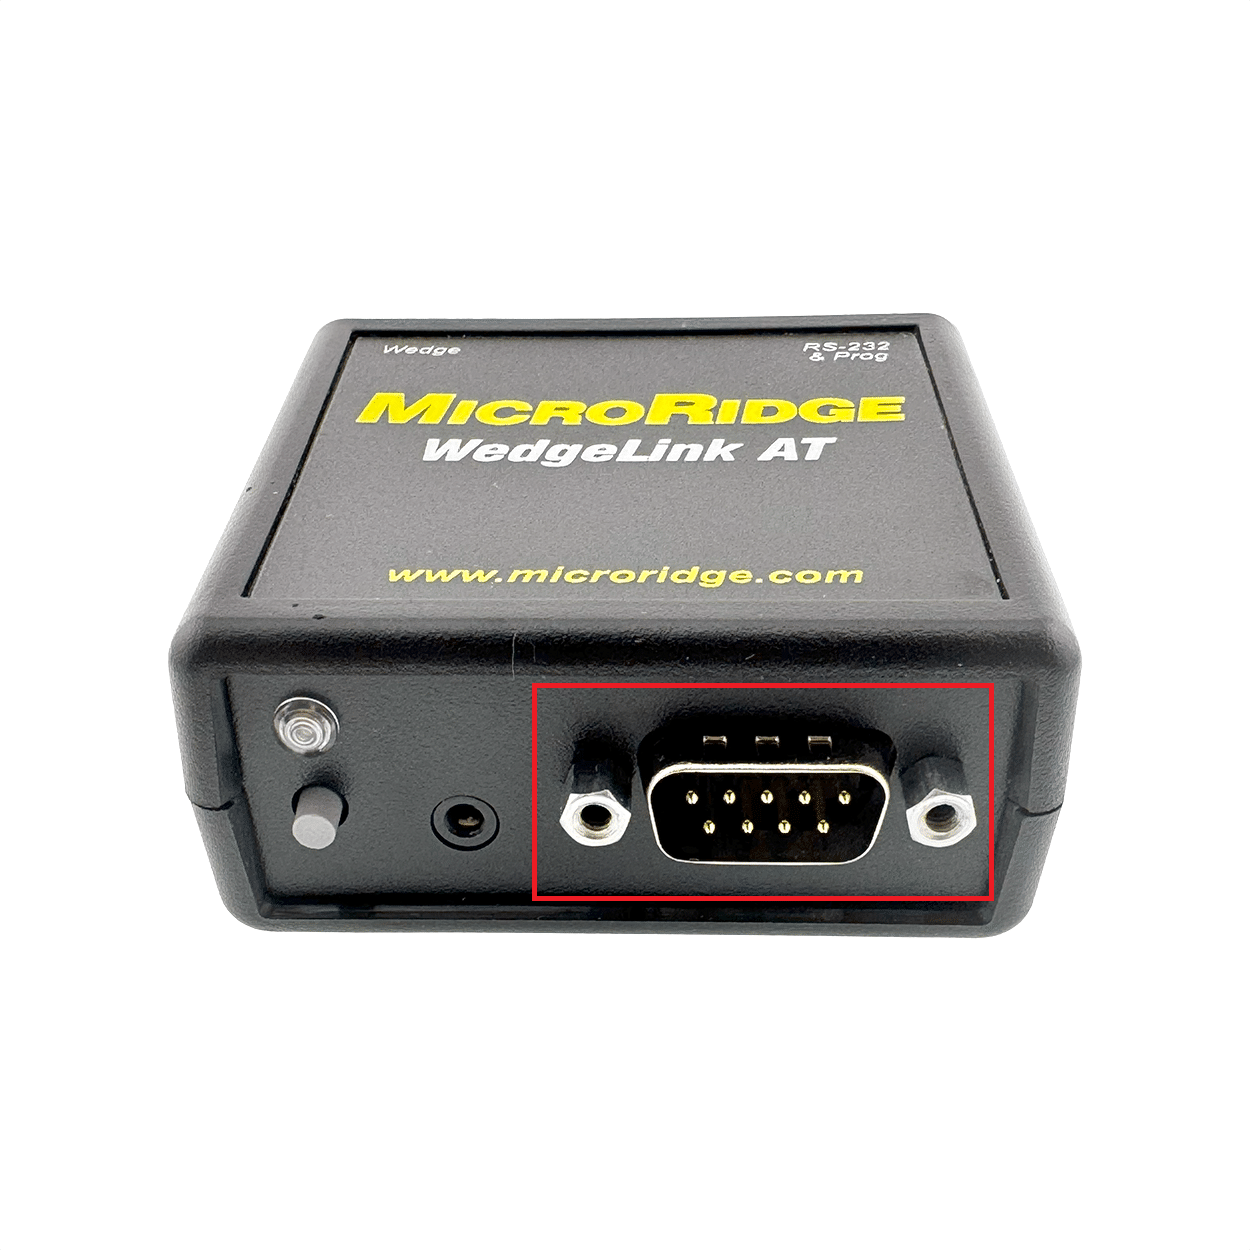
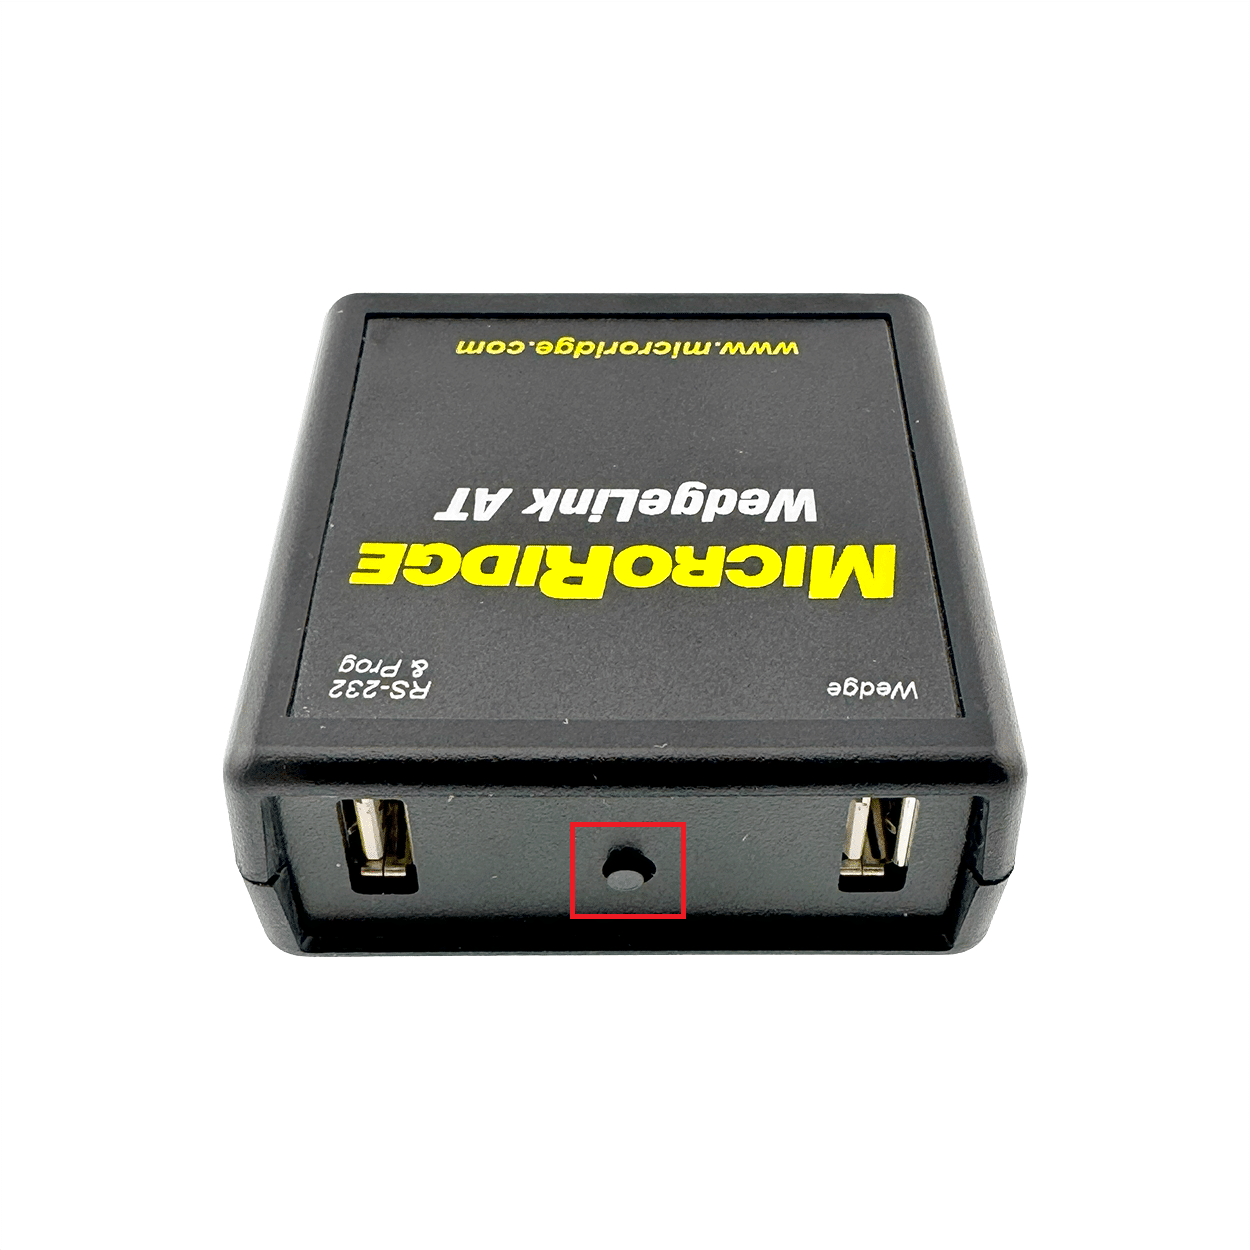
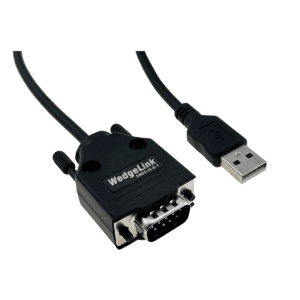
Setup Programs & UtilitiesFirmware UpdatesUser Guides & Tech NotesUSB DriverWedgeLink Certifications
Evaluate our products at your location!
Serial Communications Test Program
User Guides, Spec Sheets and more.
NewsWhite PapersAbout MicroRidgeInstagramContact Us
FAQWarranty & ReturnsProduct SupportMade in the USA
SPC Software PartnersGage Integration Partners
Select the device you purchased from the tabs below to view the quickstart guide.
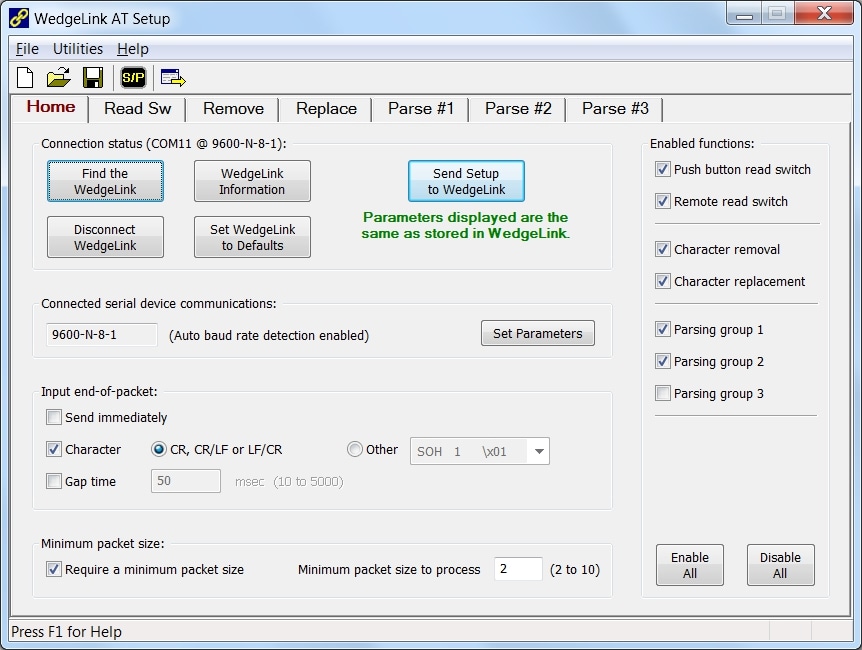
WedgeLink AT QuickStart Guide (https://www.microridge.com/wedgelink-keyboard-wedges/wedgelink-at-quickstart-guide)
Note: The WedgeLink SP Baud rate is not configurable and must be ordered to match the Baud rate of your RS-232 Device.
WedgeLink SP QuickStart Guide (https://www.microridge.com/wedgelink-keyboard-wedges/wedgelink-sp-quickstart-guide)
Call: 541-593-1656Email: support@micoridge.com